Tuesday, December 07, 2010

Little Boxes

Now that I have a lovely new workroom to work in I have been making some little boxes for Christmas. I have done these before but thought that I'd make some more and share the method again as they are so useful for putting little things in and also I really enjoy making them! I hope you do too!  

Start by cutting a square of fabric and adding bondaweb to it. Then place the fabric over some paper and bondaweb to the paper. Cut off waste. You should cut 1 x *1/4 plus 1 x *. The size is up to you but one of the squares must be 1/4inch bigger to make the lid. A 6 inch square makes a small 2" box.

Fold the corners in to the centre to make a marked square. Then fold up the corners to the first crease as shown above.

Cut up to the middle square on opposite sides of the fabric as shown above. Fold the uncut sides in once and then again. Do this on both sides.

Fold in the cut edges as shown below and then fold over the end flap. Press the crease well.

Repeat at opposite end.


 Cut a square of fabric or card and push into the bottom of the box shape. Do this for both bottom and top. A dab of glue will hold them in place.

Now for the fun part. Decorate the top of the box with glitter glue and add beads, buttons, ribbon etc. Go to town!

 
I'm going into Truro tomorrow to buy some small gifties to put into them. I've seem some cute small chocolate Christmas puddings which will be just the thing for folk at work!   

Monday, December 06, 2010

Another overhaul!


 I am absolutely exhausted as I've spent the weekend changing my workroom. I was using the smallest bedroom as a workroom but at 7ft by 6ft it was proving to be too small for all the work that is going on now. So we decided to swap rooms and turn the second bedroom which is 8ft by 11ft into the workroom and as we rarely have visitors make the smaller room the spare room! The picture on the left is of the workroom as it was showing worktop over Ikea cupboards complete with drawers!

Well the first problem was that the smaller room just wouldn't take the furniture that had been earmarked for it! If we had the bunk bed set up then the wardrobe door wouldn't open and there was no room for the small chest of drawers either. So we have ended up with an enormous Victorian wardrobe which is 5ft in length and reaches the ceiling plus a double bed which folds up as a sofa when not in use! That all took time and left me worn out! Graeme had dismantled all the shelving and then put it all up again in the new workroom. Half way through this we had to go and buy a drill and some drill bits as my ex had taken all the drills with him! Eventually the shelves were up. While all this was going on the majority of stuff was piled in our bedroom and it was touch and go whether we would actually be able to go to bed that night! I then had fun finding spaces for all the boxes, books, fabric etc. I was amazed at how much came out of the little room. It must have been like the Tardis! While I was frantically trying to find homes for everything Graeme was putting two Ikea cupboards together. I already have two cupboards from Ikea with transparent drawers and the six foot worktop sits on top of them. I have another worktop and I wanted to put this up as well, hence the extra cupboards. However since I first ordered from Ikea they had stopped sending the transparent drawers by carrier and these are only available in store so I am drawer-less! I am waiting for a friend's son to collect her drawers and collect mine at the same time. So for the time being fabric and stuff is just stuffed into the spaces! This does mean that I can't find anything easily and as is always the case remembering where things are is going to take time and effort! I have been pretty good at labelling boxes.

Well to cut a long story short everything was either found a home or junked! The new workroom is brilliant and I can't wait to get in there and do some work. I have a new worktop area 6ft x 4ft with ironing and cutting out facilities in place. I even treated myself to a new iron! My Bernina sewing machine is set up separately on my sewing table so I can sew regardless of what is going on on the worktop. And I have all my books available! Just writing about it is making me quite tired! 


Lovely lot of space! 


I am getting quite excited because I have a small article coming out in the next issue of Popular Patchwork re our new packs. Now I have somewhere to work I can really get to grips with things!

Friday, November 19, 2010

Looking back and moving on!

I have been looking back to see what I was doing at this time in November five years ago. It was also fascinating to see what was inspiring me then. Such as this rusty anchor chain from which I designed and made this small wall hanging! I have it hanging on my living room wall still! And also I can still get inspired by this photo and have a few new ideas mulling round in my head.

I was also working on an apple wall hanging. I drew the apples and then played around with the arrangement in PhotoShop. The result was the piece below which is in the process of being stitched. I can remember having great fun doing this piece and getting quite carried away with it!                                 

And five years on I am still making wall hangings based on natural objects and found materials. At the moment I am busy designing and making a set of cushions to go onto the website as kits. The first one is nearly finished and I will put up photos when it is done. I have a small piece coming out in next month's Popular Patchwork under the 'What's New?' section which is great! It is amazing to think that my website has been going for over ten years now! How time does fly! And because it is moving on I am going to do a draw for one of my Christmas Cut-Out Shapes pack. So email me valeri.b@farnedesigns.co.uk or leave a comment and I will enter your name into a draw and the winner will get a Christmas pack as shown here! 

Wednesday, November 03, 2010

Working Hard

I've been working hard at up-dating the website with new fabric and packs of Bondawebbed cut out shapes. I am so out of practice as for the last year I really haven't done much on the website at all. But it is all coming back to me thankfully!


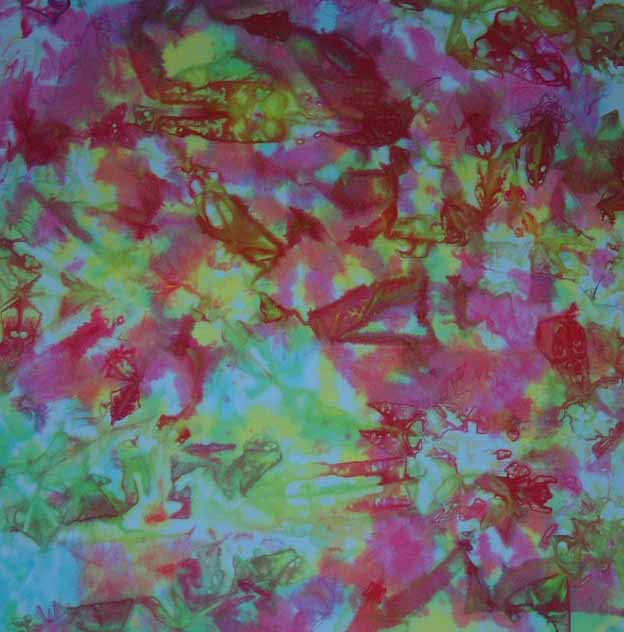
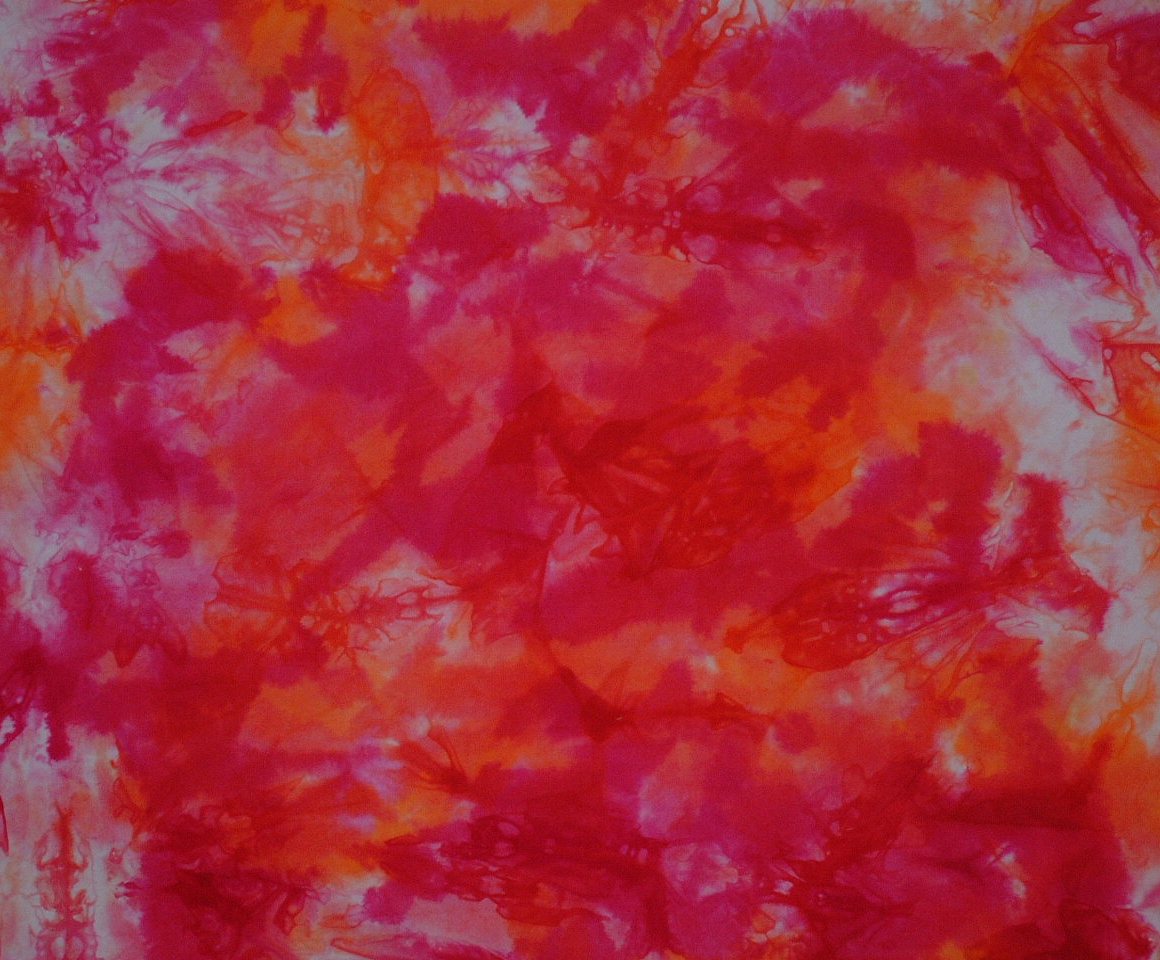
Also I've been dyeing and having fun with disperse dyes. All the pieces on this page are for sale and can be found on the website. I have a class on disperse dyeing this Saturday and I am making samples and doing hand-outs for it.


And much as I'm fighting against it Christmas is rushing up and I have to think of presents to make! I'm also going to have a go at making my own cards this year. Due to circumstances I really didn't do much at all last year but this year I'll make up for it!


With all this textile activity the poor garden has taken a back seat. I really need to get out there and tidy up and prepare for the winter. There are still flowers such as nasturtiums and hydrangeas and everything is very green still. Lots of self sown Forget-me-nots which will make a splash of colour in the Spring!

Tuesday, November 02, 2010

Not a good start!

Well not a good start  in writing the blog!But I had to have a back tooth out and it was the most painful time! Not only were the roots splayed but also one of them broke off in the gum and is still there! But enough of that. I've been busy cutting out shapes and packaging them with the help of my partner Graeme. He is proving to be most invaluable! I've also made a few samples to go with the packs. Here is one of them using the Funky Flowers shapes. This is my favourite pack but I also like the hearts and Christmas ones too.


I now have to update the website with the pack details. So far I have done four sets;Christmas, Funky Flowers, Hearts and Circles. The shapes are all Bondawebbed and ready to go and remarkably quick to use. I took some into class and my students were delighted. One of them made a Christmas picture immediately!

This coming Saturday I have a Disperse Dyeing workshop so I have to get some samples ready for this. It is so easy to do! All I need is time!

Friday, October 15, 2010

Keeping Busy!

 I am having difficulty getting my head round the new editor in Blogger! My photos won't go where I want them to! I'm sure I'll get there in the end but apologies in advance for any anomalies!
Flower Photo-Print Hanging
This is the top of the hanging I'm making using photo-prints of flowers from the garden. I've added dyed fabric in a log cabin style and then used appliqued leaves over the top of the piece. These I have to stitch on (I've started on the top ones) and then back and bind the finished piece, attaching a hanging sleeve. I have been having great fun printing pictures onto fabric and am amassing quite a collection! There are lots of ideas buzzing around in my head for using them. Watch this space! 

My friend has lent me her Accuquilt while she is away in Africa for three weeks. I can't wait to get started. She has a fantastic collection of dies for it with everything from basic shapes to trees, leaves and flowers! I am thinking of doing packs of various shapes and selling them on the website. If you have suggestions do let me know! This is an amazing machine and although it has been around in the US for a long time it is relatively new over here. And we are going to be offering a cutting service for anyone who just doesn't want to cut out hundreds of diamonds, squares, rectangles etc.  I am certainly going to be busy! 

Also many thanks to everyone who has written to me or commented on the blog. I have been touched at your warmth and the simple fact that I am remembered! Having been out of touch for quite a while I duly expected to have been forgotten! Now I must get to grips with bringing the web-site up to date and organising a Pay-Pal facility again. The fact that I work every afternoon doesn't leave a lot of time but I'm getting Graeme involved so in time a lot should be accomplished. Now if only I could get him to use the sewing machine!  

Monday, October 11, 2010

Some more pictures!

I've been busy sorting out pictures for printing onto fabric as I'm doing memory and photo quilts with my students. I took loads of photos while I was recently in Scotland so here are few that I think are interesting!

It rained heavily while we were there and the burns were in full flow. What a few days previously had been rock strewn rivulets overnight became torrents of foaming water!

I came across this ruined croft while wandering in the hills and took a scenic view of the loch through the ruined window. What a glorious view to wake up to!

This is a close up of the view above.

I found these stones and their reflections in the water totally fascinating!

And then to my delight this enormous dragonfly landed on one of the stones!

Loch Rannoch where we were staying. And the photo below is of the view from our bedroom window with the early morning mist curling over the Loch.


And last but not least a lovely tree showing three colours of leaves. The green of summer plus the yellows and reds of autumn.


I am full of ideas as to how to use these pictures in pieces of work and just need to get organised. Easier said than done! And I need to dye a collection of autumnal colours!

Thursday, October 07, 2010

The Phoenix rises from the Ashes!

Well I am back from the dead; alive and well! The last year has been a painful one full of ups and downs but now there are more ups. I am fully divorced and have a new partner living with me. Life has become fun again and I'm working on building up my crumbling textile business. It is sad that when one is deeply unhappy one tends to let important things slide but that's the way it was! On the plus side I lost loads of weight and am half the woman I was! My partner is a Scot so I have been spending a lot of my time in Scotland since the New Year. I can almost do the drive to Edinburgh in my sleep! But he loves being in Cornwall as it is so much warmer. We are still sitting on the patio to have our morning coffee! A couple of weeks ago we were staying at his time share in Rannoch and I was able to get loads of pictures for future textile use. I was lucky enough to see an Osprey, a hare and a herd of deer! I didn't catch a fish but I hooked and lost two small brownies! Who would have thought that I would become an avid fisherwoman! It is such a peaceful past-time and I really love making the flies. So creative!

I have classes starting tomorrow and I've been planning lots of exciting things for my students to do including printing on fabric and making photo picture quilts and hangings. Plus I've had a mammoth dyeing session and dyed up metres of fabric in yummy colours and patterns. I'm writing this at work so I'm going to have to add in more pictures when I get home! I treated myself to a new all in one printer. It is an HP F4500 and it's great. When printing on fabric I haven't had any problems or snarl ups.

A few of the dyed pieces. Two by half metre and one of a metre. It was a red day!


My next project is to update my website and bring it into the 21st century! I am going to start selling kits as well as my fabric and the site needs to be more user friendly. Plus I am going to have to get my head around inserting PayPal facilities again so I can sell abroad as well as in the UK. So I have plenty to do this coming winter. Onwards and upwards!

Thursday, September 10, 2009

Fabric Painting

Well I finally found time to try out my new fabric paints that I got from Laura at the Festival of Quilts. For a link to Laura's site see my last post.
They were really easy to use and I had great fun. I didn't do a lot as time was limited but what I did do I'm really pleased with. Especially the fact that when the paints dried the fabric was as soft and easy to handle as if I'd dyed it. In the past when using fabric paints the fabric has always been a tad stiff after painting.
The reverse technique is brilliant and gives an effect very similar to Batik. At the same time as one is printing that one also prints the plain fabric in the normal fashion so that one ends up with two pieces for the price of one! I am so impressed that I can see I will be doing lots more. I have a coffee morning tomorrow with some of my students so I will see what they think of the results.


The two pieces above are of the reverse printing. Below is a larger view. Click on the pictures to see a larger version.


This piece below is the print from the reverse printed piece,with a close up view next to it.


a
nd the piece below that is the print from the leaf reverse print piece, with a close up next to it.


I can't wait to do more. I love the way the colours mix together.


Wednesday, August 26, 2009

Festival of Quilts

I had a great time at the Festival of Quilts and will surely go again next year and spend two days there instead of one! I didn't buy an awful lot but I was very pleased with what I did buy. I spent most of my money buying fabric paint from Laura who can be found here.I am really looking forward to doing some of this as soon as possible! She had some lovely stamps and printed fabrics on her stand. It was hard not to buy up everything in sight. But I restrained myself and just bought a kit to start with plus a lovely wavy stamp.I also bought a few books. Only three which is very restrained for me but they will be very motivational and inspiring especially the stencilling one which has a lot of African images.


I treated myself to some lovely beads and a collar to hang them on. They came from Totally Beads and there was a fantastic choice. I bought lots of felt for burning and painting and doing all sorts of interesting things with it. Again I want to get started! Plus a really useful gadget for holding down rulers while cutting fabric. Initially meant for pulling dents out of cars it is now a fantastic quilting accessory. I shan't let my husband see it!


I didn't buy very much fabric but I loved this picture strips with gardening images. And I had to buy the strip with the robins as it will make wonderful cards at Christmas.
-
Below are some of the quilts I saw and liked. Those which inspired me. There were lots of those but I have only shown a few for now as it is taking an age to upload them. More another day!


Wednesday, July 08, 2009

Another bag!


I saw the pattern for this bag in one of the patchwork magazines and decided to try it out. I don't think I'll make it again! It is an octagonal bag and will be useful for my crochet but not really the sort of bag I want to use as a bag!


I 've got my pictures all wrong but the one above is of the shell beads which I attached to the flaps. There were four of them in all.


This is the top. The tie goes through the loops and then pulls the bag closed.


This is the bottom of the bag.


And another picture of the bag with the flaps showing in more detail. I also put shell beads around the top. It was an interesting concept but the instructions were bizarre. As they usually are I find. It didn't take long to make. As you can see from the picture below when laid out it looks a bit like a dead jellyfish!